Setting up Deployment Framework for BizTalk (BTDF) (basic setup for BizTalk 2013) - part 1, page 5
| Previous: Walkthrough: configuration |
Walkthrough: deploy environments
In this section I will show how to use the BTDF to deploy the BizTalk solution to multiple environments
Step Six: Customize the MSI deployment process
To make the process of deploying into separate environments using a deployment wizard as error-free as possible, it is useful to customise the user experience for the authorised personnel (BizTalk administrators) who will be doing the deployment. This can be accomplished by using the BTDF msi deployment wizard, a BTDF installation tool for deploying MSIs created by BTDF during the deployment process
We have complete control over which pages appear in the wizard, and in what order.
The files InstallWizard.xml and UnInstallWizard.xml in the Deployment folder define all of the pages that the wizard will display during, respectively, deployment and undeployment. The goal of the wizard is to define environment variables before launching MSBuild so that they can be referenced during deployment. We will use those environment variables/MSBuild properties to control the deployment.
At least two environment variables called ENV_SETTINGS and BT_DEPLOY_MGMT_DB must be defined in the Installwizard.xml file when MSBuild is launched on the server to deploy. These are created by default by the BTDF project creation process. They choose the bindings and do the actual server deployment respectively. We will examine these two.
Open the InstallWizard.xml file using a text editor. Make sure it is similar to the one pasted below and save the file:
<?xml version="1.0" encoding="utf-8" ?>
<!--
Deployment Framework for BizTalk
Copyright (C) 2008-14 Thomas F. Abraham, 2004-08 Scott Colestock
--><!-- Each SetEnvUIConfigItem element defines a single page in the wizard that appears during a server deployment. -->
<!-- The EnvironmentVarName element specifies the name of an environment variable that will contain the value of the -->
<!-- user's selection. Each environment variable automatically becomes an MSBuild property that you may reference in -->
<!-- your .btdfproj file. --><SetEnvUIConfig xmlns:xsd="http://www.w3.org/2001/XMLSchema" xmlns:xsi="http://www.w3.org/2001/XMLSchema-instance">
<DialogCaption>SmartAlex.BTDFProjects.Common</DialogCaption>
<SetEnvUIConfigItem>
<PromptText>Enter the domain-qualified account name used by the BizTalk host instance to read/write from/to FILE port physical paths:</PromptText>
<PromptValue />
<ValueType>Text</ValueType>
<EnvironmentVarName>BTSACCOUNT</EnvironmentVarName>
</SetEnvUIConfigItem>
<SetEnvUIConfigItem>
<PromptText>Select the XML file that contains configuration information specific to this environment:</PromptText>
<PromptValue></PromptValue>
<ValueType>FileSelect</ValueType>
<EnvironmentVarName>ENV_SETTINGS</EnvironmentVarName>
</SetEnvUIConfigItem>
<SetEnvUIConfigItem>
<PromptText>Is this the LAST server in the BizTalk Group you are deploying to?
If so, BizTalk assemblies will be deployed to the BizTalk Management Database.</PromptText>
<Caption>This is the LAST server in the BizTalk Group</Caption>
<PromptValue>true</PromptValue>
<ValueType>Checkbox</ValueType>
<EnvironmentVarName>BT_DEPLOY_MGMT_DB</EnvironmentVarName>
</SetEnvUIConfigItem>
</SetEnvUIConfig>
The configuration file is actually quite self-explanatory. The <SetEnvUIConfig> nodes define each page of the wizard. Each page allows you to ask a question and select the type of input expected back in response to the question. In the sample above, we are more or less using the default BTDF config settings.
The first page asks for a domain-qualified account to be used in the chosen environment. Domain-qualified accounts are expected since the environments are tecnhically not expected to be on the same computer.
The second page asks for the specific Settings file (created earlier from the matrix spreadsheet and PortbindingsMaster.xml) we want to use to configure the BizTalk application when deploying to the chosen environment
The third page is really more relevant for multi-server environments (deploying to a BizTalk group), but we still need to tick the box for single server environments to tell BTDF that this is a single server environment
Note: to undeploy using the wizard, at least one environment variable must be defined in the Uninstallwizard.xml file: BT_DEPLOY_MGMT_DB.
Step Seven: Deploy environment(s)
The deployment approach we are going to explore in this walkthrough is the server deploy msi approach. This involves building a composite msi file which includes references to all the environments we have configured in the settings matrix spreadsheet. the msi is used in conjunction with the corresponding auto-generated settings file to complete the deployment to the target environment.
Once the msi is created by BTDF, the administrator is prompted during the deployment process to specify the environment being deployed to, and the settings are then read from a file specified during the same deployment process
To start, open the BTDF menu in Visual Studio under the Tools tab of the file menu. Select the 'Build Server Deploy MSI' option (as in the diagram below)

Check the output window to make sure the process completes successfully.

For the walkthrough, we are assuming we will be deploying to the Dev1 BiszTalk Server environment.
Copy the two files to a staging location on your target (DEV1 environment) server (or you can use the same machine for the walkthrough). also copy the file Exported_Dev1Settings.xml from Deployment\environmentSettings to the staging location on your target server.
Double-Click the Install-SmartAlex.BTDFProjects.Common-1.0.0.bat file to begin the installation...
The wizard starts with the interactive installation screen. Click Next.
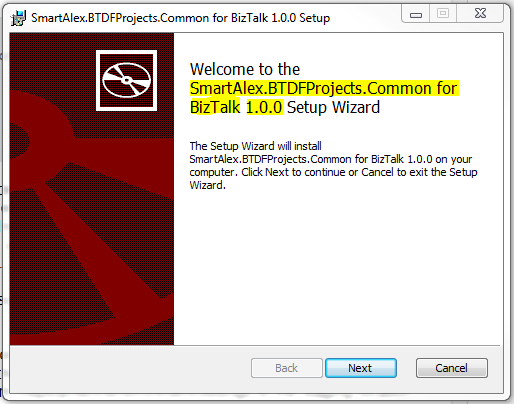
Note that the version number and name of the product (highlighted above) can be customised from the deployment project file (Deployment.btdfproj) in the sections shown below
<ProductVersion>1.0.0</ProductVersion>
<ProductId>de607a47-32bc-4804-b984-8219dfdf6d31</ProductId>
<!-- BizTalk App Version Upgrade --> <ProductName>SmartAlex.BTDFProjects.Common for BizTalk</ProductName>
A license agreement screen is displayed next. Tick the acceptance box and click next to move on.
The next screen asks you to specify the installation folder to which you would like to install the application on the server. The default is okay for this walkthrough, but you can change this to suit your solution requirements
Click 'Install' on the next screen to begin the installation.
Click ‘Install’ to begin the installation. The application is installed onto the target server. As a part of the installation completion screen you now have the option to specify if you wish to deploy the BizTalk application to Biztalk server. Tick the box as highlighted in the diagram below and click ‘Finish’

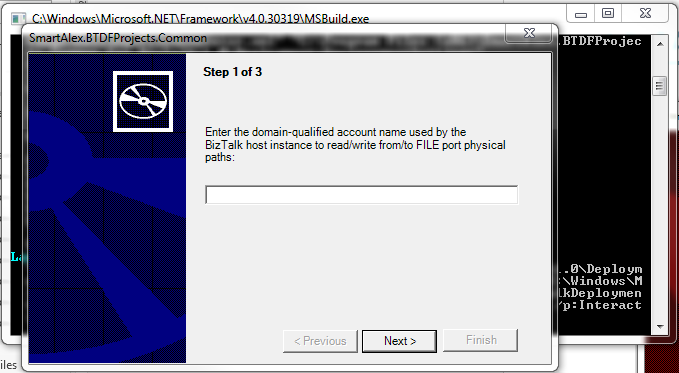
The deploymrent process will now start. The first screen asks you to specify a domain-qualified account for running nBiztalk processes. This should be a service account used for running the in-process hosts in Biztalk server. Enter the account and click Next.
The next screen asks you to specify the environment settings file for the target environment (in the Deployment\environmentSettings folder). Browse to the correct Settings file for the target environment and click Next.

| The last screen asks you to specify if this is the last server in the group. This is referring to a multi-server BizTalk group. This is important when deploying to a a multi-server BizTalk group. For a single BizTalk server, there is only one server in the BizTalk group, so you must check the checkbox before clicking Finish to start the deployment script. When deploying to a BizTalk group, pay careful attention to the sequence in which you deploy to each server and untick for each server until you come to the last server. Leave the box ticked for this walkthrough and click 'Finish'. this will start the deployment script, which deploys the application into Biztalk server on the target environment with the correct (selected) settings for that environment.  When the deployment finishes, it will display a message indicating success or failure. It's possible that some warnings will appear. They are worth reviewing but generally don't indicate a significant problem. Once the script has run successfully, open BizTalk server admin, and you should be able to view the fully configured application in BizTalk. Previous: Walkthrough: configuration |
No comments:
Post a Comment